Contact Us at 803-504-3908 press 2
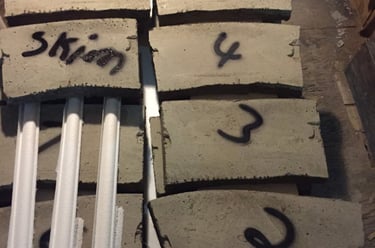
Your coping stones will arrive on a pallet. They will be stacked in a fashion where the installer will start with the block labeled start and work counterclockwise in a numerical order. Read This!! If you have a rectangle pool the starting stone will be in the center of a narrow end.
Get a rough layout of your Coping Stones and then adjust them accordingly. Allow for about a one inch overhang over the water.
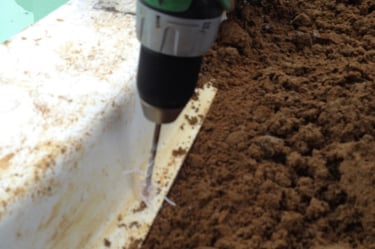
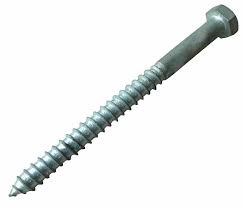
Work on one section at a time. Remove a Coping Stone and drill a pilot hole for the lag bolts. We use a 3/16 pilot hole for a 1/4 inch lag bolt. The length of the lag bolts will vary for each model pool that length will be determined after your pool is been delivered.
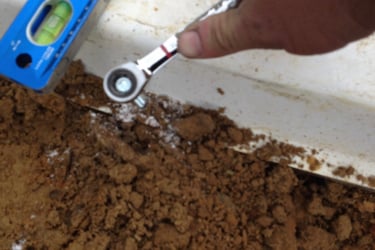
Install the lag bolt.
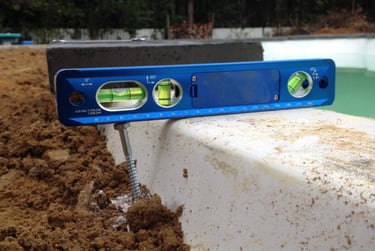
Place the level from the edge of the pool beam to top of the lag bolt and ensure that it is level.
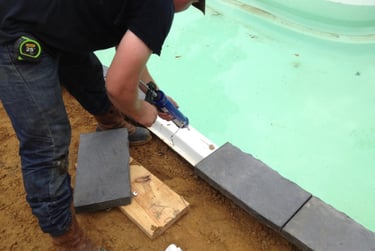
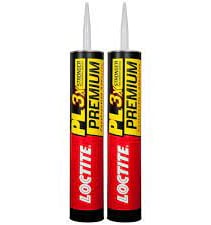
Apply Loctite Premium adhesive to the top of the pool
beam
Place the stones back in its position and wait 24 hrs for the adhesive to set.
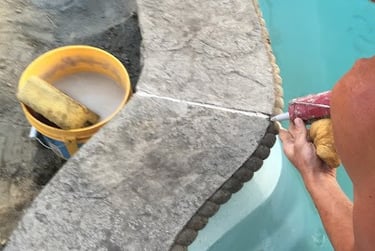
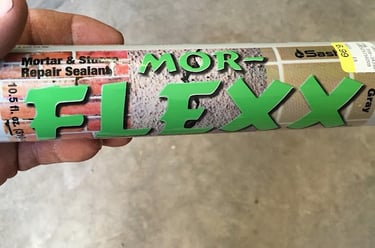
We have been grouting the joints with the product called Moor Flex. Moor flex works very well and gives the coping stones a finished look.
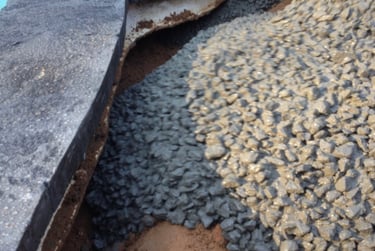
When pouring the concrete it is very important that the concrete encapsulates the bottom of the coping as well as the pool beam and flange without voids.
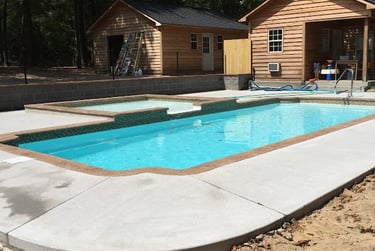
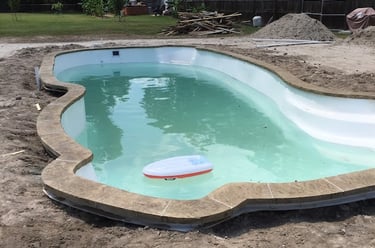
Finished Product!!
